Design Team · Paper Rose Studio

Paper Rose Studio | Enchanted Christmas

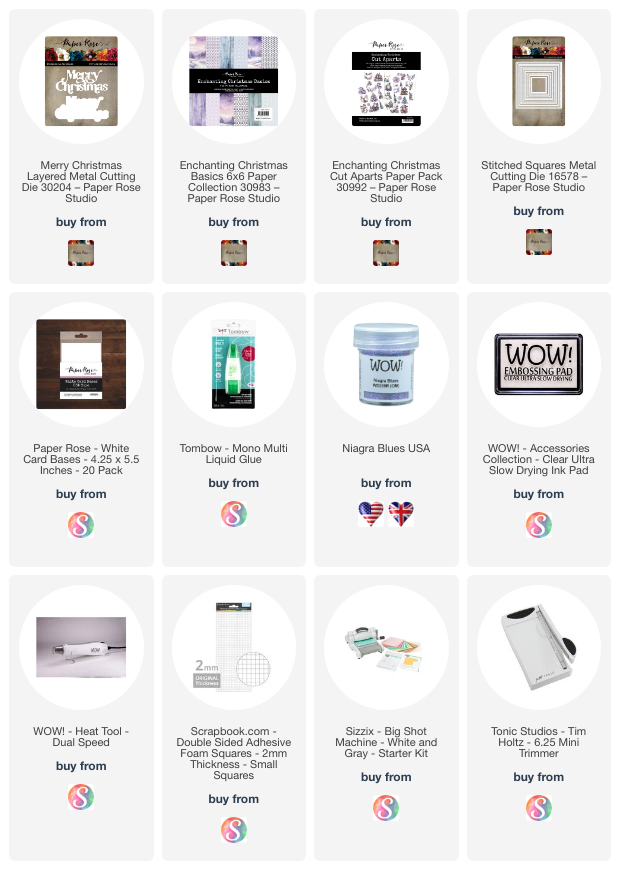
Hi all, welcome to today’s blog post for Paper Rose Studio. Today, I have created a Christmas card with a little bit of glitter goodness with the WOW! Embossing Powder Niagra Falls embossing glitter for the Merry Christmas layered sentiment. For the matting layers, I have used the Enchanting Christmas Basics pattern paper collection. For the feature present element, I have used the cut-aparts with the square stitched dies and foam mounted this on the card front. I kept this card very simple but with all these elements it looks so magical.

I have used a compensated affiliate link in this post, which means I get a small commission from the company directly at no extra cost to you whatsoever if you shop using these links. Any earnings I get from these links go back into keeping up with the craft creations to provide you some inspiration. If you enjoy my work, I’d be so grateful if you choose to support me this way. Thank you in advance!

——— FIND ME ONLINE———
Facebook | Instagram |Blog | YouTube Channel

L I K E  T H I S  P R O J E C T ?
W H Y   N O T  P I N   I T   F O R   L A T E R ?
IT’LL BE THERE FOR WHEN YOU NEED IT!

Die Cutting · Paper Rose Studio

Paper Rose Studio | Christmas Gift Tag

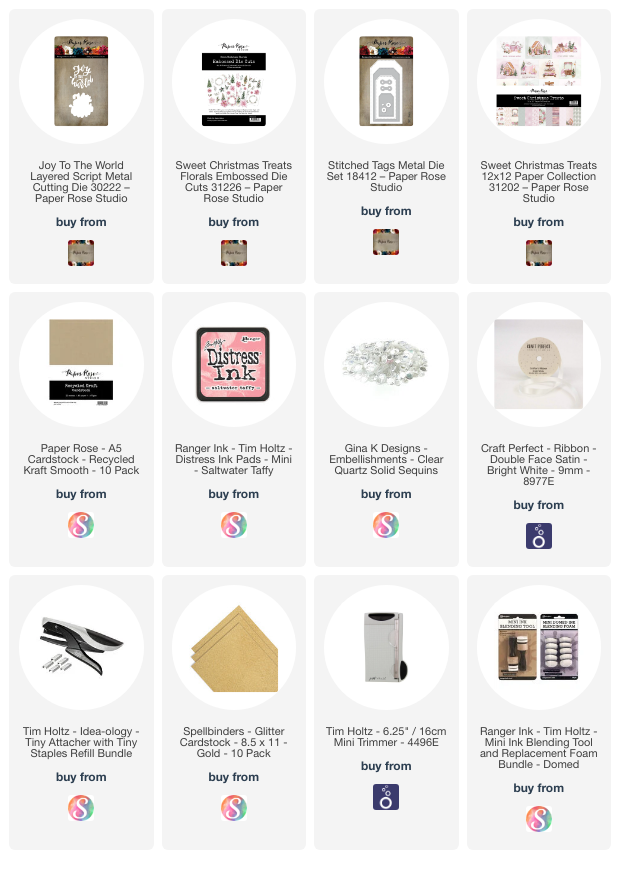
Hello paper crafting peeps, welcome to today’s blog post for Paper Rose Studio. Today, I have made an easy Chritmas gift tag.

  1. Add Distress Ink Sakwater Taffey ink around the edges of the die-cut tag with an ink blending tool
  2. Add the Sweet Christmas Treats pattern paper on the bottom of the tag
  3. Adhere to the Sweet Treats pre-embossed elements on the pattern paper
  4. Adhere to the gold glitter Joy to the World die-cut sentiment on the vellum cardstock
  5. Add some clear sequins to embellish
  6. Staple the white satin ribbon on the tag with a Tim Holtz tiny attacher

I have used a compensated affiliate link in this post, which means I get a small commission from the company directly at no extra cost to you whatsoever if you shop using these links. Any earnings I get from these links go back into keeping up with the craft creations to provide you some inspiration. If you enjoy my work, I’d be so grateful if you choose to support me this way. Thank you in advance!

——— FIND ME ONLINE———
Facebook | Instagram |Blog | YouTube Channel

L I K E  T H I S  P R O J E C T ?
W H Y   N O T  P I N   I T   F O R   L A T E R ?
IT’LL BE THERE FOR WHEN YOU NEED IT!

Paper Rose Studio

Paper Rose Studio | Watercolour Poinsettia with re-inkers

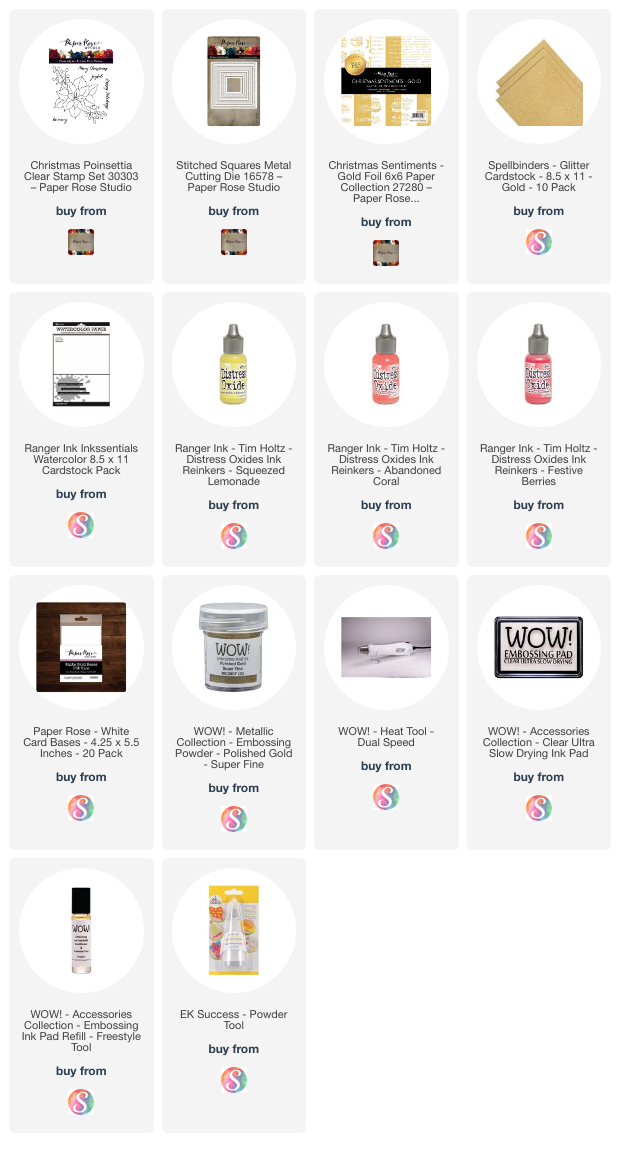
Hi paper crafting peeps, welcome to today’s blog post for Paper Rose Studio. Today, I have watercoloured a WOW! Embossing Powder Polished Gold heat embossed Christmas Poinsettia stamp set on Ranger watercolour cardstock on the smooth side. Normally, I would use waterolour paints, pens or mediums however I dusted off my Distress Oxide Reinkers as my choice of medium. My biggest tip before using re-inkers is to shake the reinker bottle really well before dropping them onto a pallet of some sort. I used an aqua pentel brush to pick up the inks and watercolour in the image. With the stitched square dies I used these to frame the watercolour image and mount it on gold glitter cardstock. For the sentiment, I added the prefoiled sentiments from the Christmas Sentiments Gold Foil 6×6 pattern paper pack.

I have used a compensated affiliate link in this post, which means I get a small commission from the company directly at no extra cost to you whatsoever if you shop using these links. Any earnings I get from these links go back into keeping up with the craft creations to provide you some inspiration. If you enjoy my work, I’d be so grateful if you choose to support me this way. Thank you in advance!

——— FIND ME ONLINE———
Facebook | Instagram |Blog | YouTube Channel

L I K E  T H I S  P R O J E C T ?
W H Y   N O T  P I N   I T   F O R   L A T E R ?
IT’LL BE THERE FOR WHEN YOU NEED IT!

Christmas

Paper Rose Studio | Silhouette Christmas

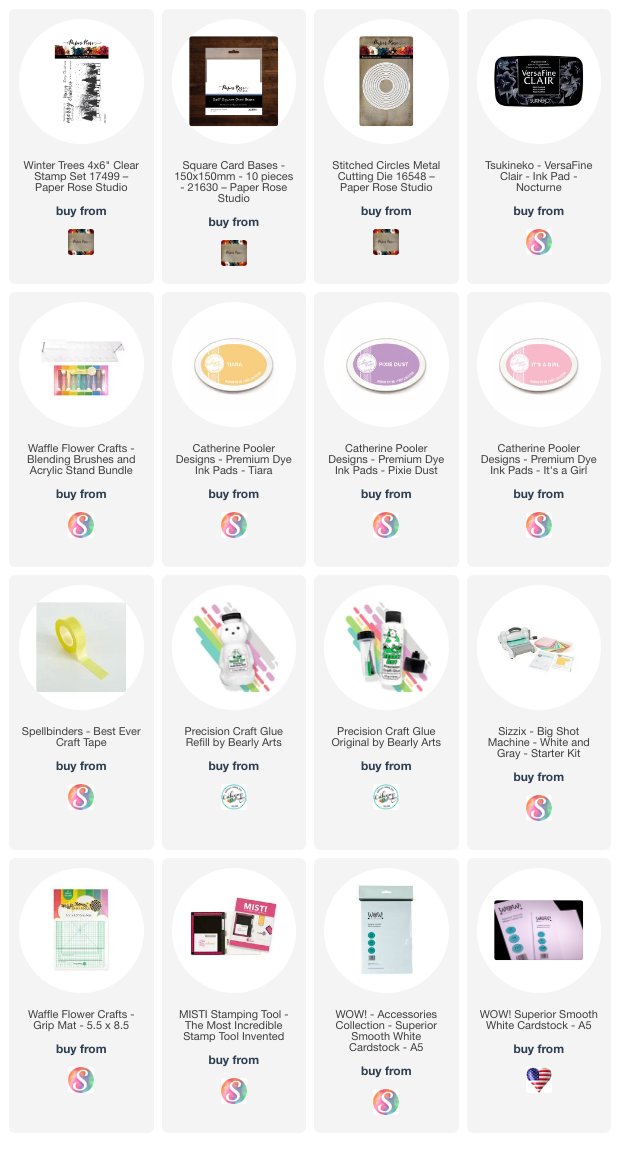
Hi paper crafting peeps, welcome to today’s blog post for Paper Rose Studio where I have made a non-traditional Christmas card using the silhouette Winter Trees stampset. This stampset has a large silhouette image and some beautiful script Christmas font sentiments. For added interest, I continued the black speckles with a black pigment pen.

Watch how I created this card on my YouTube channel – https://youtu.be/vRygkugJroY

I have used a compensated affiliate link in this post, which means I get a small commission from the company directly at no extra cost to you whatsoever if you shop using these links. Any earnings I get from these links go back into keeping up with the craft creations to provide you some inspiration. If you enjoy my work, I’d be so grateful if you choose to support me this way. Thank you in advance!

——— FIND ME ONLINE———
Facebook | Instagram |Blog | YouTube Channel

L I K E  T H I S  P R O J E C T ?
W H Y   N O T  P I N   I T   F O R   L A T E R ?
IT’LL BE THERE FOR WHEN YOU NEED IT!

Paper Rose Studio

Paper Rose Studio | Vintage Classic Car Card

Hi paper crafting peeps, welcome to today’s blog post for Paper Rose Studio where I have a simple ink-blended card using the effective Half Circles stencil with some bright and bold Distress Inks – Twisted Citron, Mermaid lagoon, Evergreen Bough. To get a bold black ink coverage I recommend a good black pigment ink like Versafine Onyx Black Ink. I also used a MISTI to be able to restamp and get a bolder image over the stenciled background. I did the same process for the sentiment. For the top right sentiment, I stamped the birthday sentiment on a teal cardstock and mounted it on black cardstock that was angled cut and mounted with foam tape. I mounted the stamped and stenciled panel on a black cardstock matting panel and then adhere to a side folding card base.

I have used a compensated affiliate link in this post, which means I get a small commission from the company directly at no extra cost to you whatsoever if you shop using these links. Any earnings I get from these links go back into keeping up with the craft creations to provide you some inspiration. If you enjoy my work, I’d be so grateful if you choose to support me this way. Thank you in advance!

——— FIND ME ONLINE———
Facebook | Instagram |Blog | YouTube Channel

L I K E  T H I S  P R O J E C T ?
W H Y   N O T  P I N   I T   F O R   L A T E R ?
IT’LL BE THERE FOR WHEN YOU NEED IT!

Paper Rose Studio

Paper Rose Studio | Sending Hugs Card

Hi, paper crafting peeps welcome to today’s blog post for Paper Rose Studio. Today’s card is very simple. I have used the Heart Circle cover die as an impression only. To get this impression I used a rubber mat as a plate layer so this would not cut through the cardstock. I added double-sided tape behind it and adhered it down on a kraft card base panel. For the sentiment, I have die-cut with white cardstock Sending Love & Hugs die and only used the top layer. To add some glitz and shine I added a thick layer of Nuvo Glitter Drops in white blizzard. The biggest tip I can give when using the glitter drops is to set aside to dry for at least an hour.

I have used a compensated affiliate link in this post, which means I get a small commission from the company directly at no extra cost to you whatsoever if you shop using these links. Any earnings I get from these links go back into keeping up with the craft creations to provide you some inspiration. If you enjoy my work, I’d be so grateful if you choose to support me this way. Thank you in advance!

——— FIND ME ONLINE———
Facebook | Instagram |Blog | YouTube Channel

L I K E  T H I S  P R O J E C T ?
W H Y   N O T  P I N   I T   F O R   L A T E R ?
IT’LL BE THERE FOR WHEN YOU NEED IT!